How to disassemble travel motor speed of Doosan DX520LC and DX480LC Hydraulic Excavator Reduce
Doosan Diagnostic Tool UVIM Support Doosan Excavators High Quality
1. Drain gear oil and remove travel motor and O-ring.
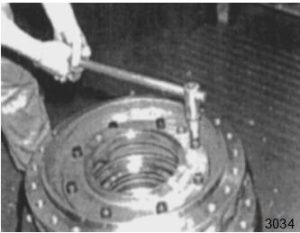
2. Remove motor flange (8 socket bolts, M16 x 35). Figure 64.
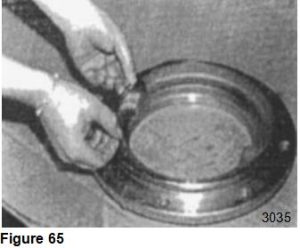
Remove O-ring from motor flange. Figure 65.
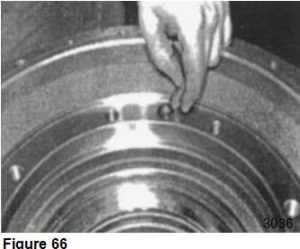
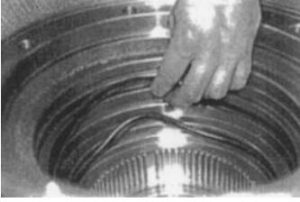
Remove O-ring from hub groove. Figure 66.
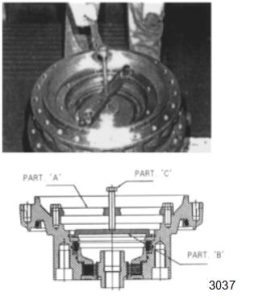
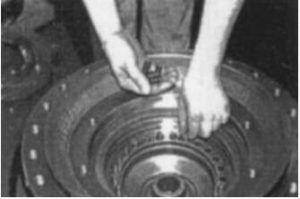
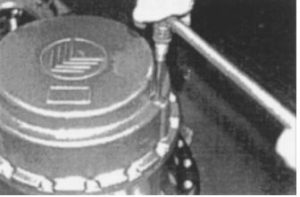
Attach disc (B, Figure 67) to spring retainer; fasten pusher (A) to hub and install screw rod (C).67
2022.11 Doosan DMS-5 3.0.5 Data Monitoring System Diagnostic Software
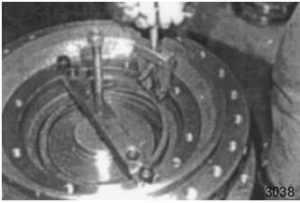
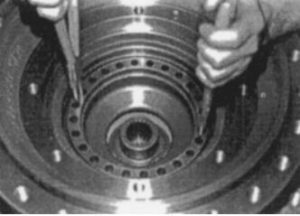
6. Remove retaining ring from hub groove using pliers. Figure 68.
7. Remove jig and retaining ring. Figure 69.
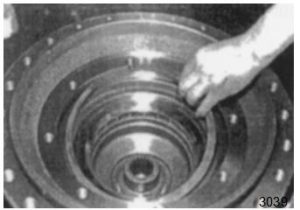
8. Remove spring retainer. Figure 70.
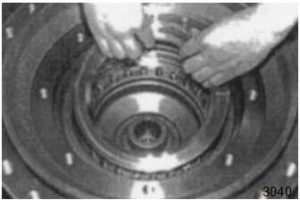
9. Pull spring from groove. Figure 71.
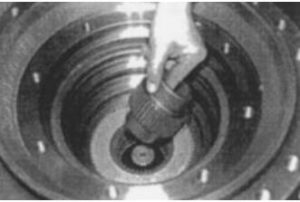
10. Blow air into brake port hole and remove brake piston using pliers. Figure 72.
11. Remove brake shaft. 73
12 .Remove disc. Figure 74.
13. Remove O-ring and backup ring. Figure 75.
Doosan Diagnostic Tool DDT G2 SCAN( ECU ,DCU)Software 2016
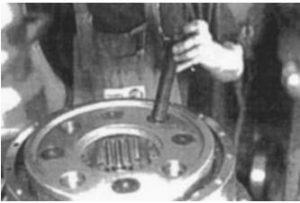
14.Turn reduction gear assembly over and remove 2 plugs (M22 x 1.5). Figure 76.
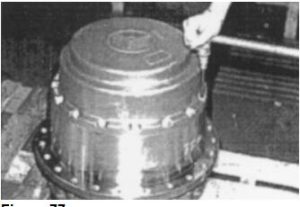
15. Remove 16 socket bolts (M14 x 40). Figure 77.

16. Remove end cover, using puller. Figure 78.
17. Remove O-ring from end cover groove. Figure 79.
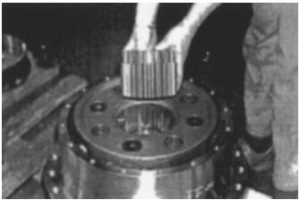
18.Remove first sun gear. Figure 80.
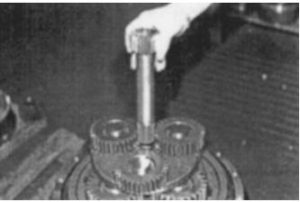
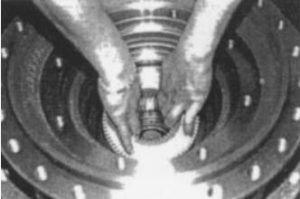
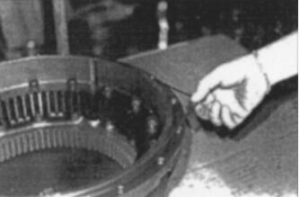
19. Remove first planetary gear assembly. Figure 81.
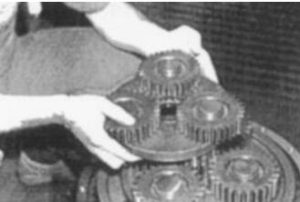
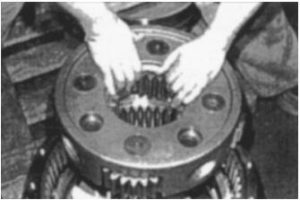
20. Remove second sun gear. Figure 82
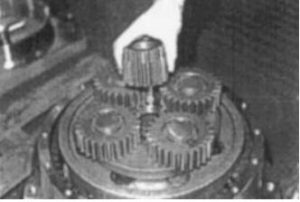
21. Remove second planetary gear assembly. Figure 83.
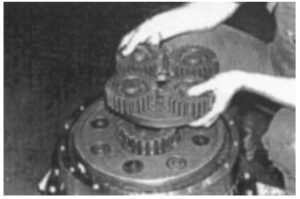
22. Remove third sun gear. Figure 84
23. Remove bolts (4, M 30 x 150) from third planetary gear assembly. Figure 85.

24. Remove bolts. Figure 86.
25 Separate hub from reduction gear housing, using press and stopper. Figure 87.
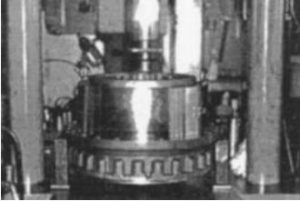
NOTE: Do not remove main ball bearing.
26. Remove third shift assembly from hub. Figure 88.
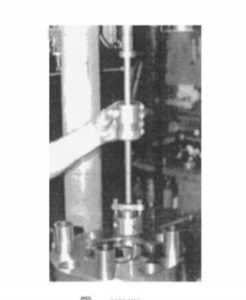
27. Remove bushing from hub using a jig. Figure 89
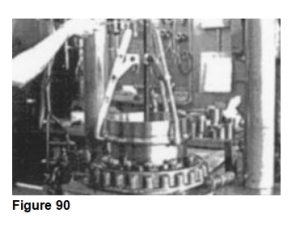
28. Remove bearing inner race and spacer from hub, using puller. Figure 90.
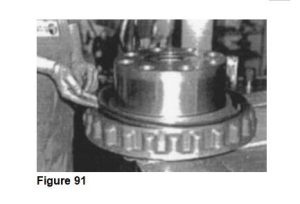
29. Remove gasket. Figure 91.